Your first event
This walk-through takes a club from an empty account to a running competition. It assumes the platform operator has created the club and your account as its admin (see Admin panel).
1. Log in
Open the app, log in with the account you were given and pick your language in the user menu at the bottom of the sidebar.
2. Set up the range
Under Ranges, create the range with its number of lanes and mark lanes that are out of service. If you print at the range, add a print agent later (see Printing).
3. Load the shooters
Under Shooters, import your shooter list as a CSV file (see CSV import) or create shooters one by one. Shooters can also be created at the desk during the event.
4. Create the event
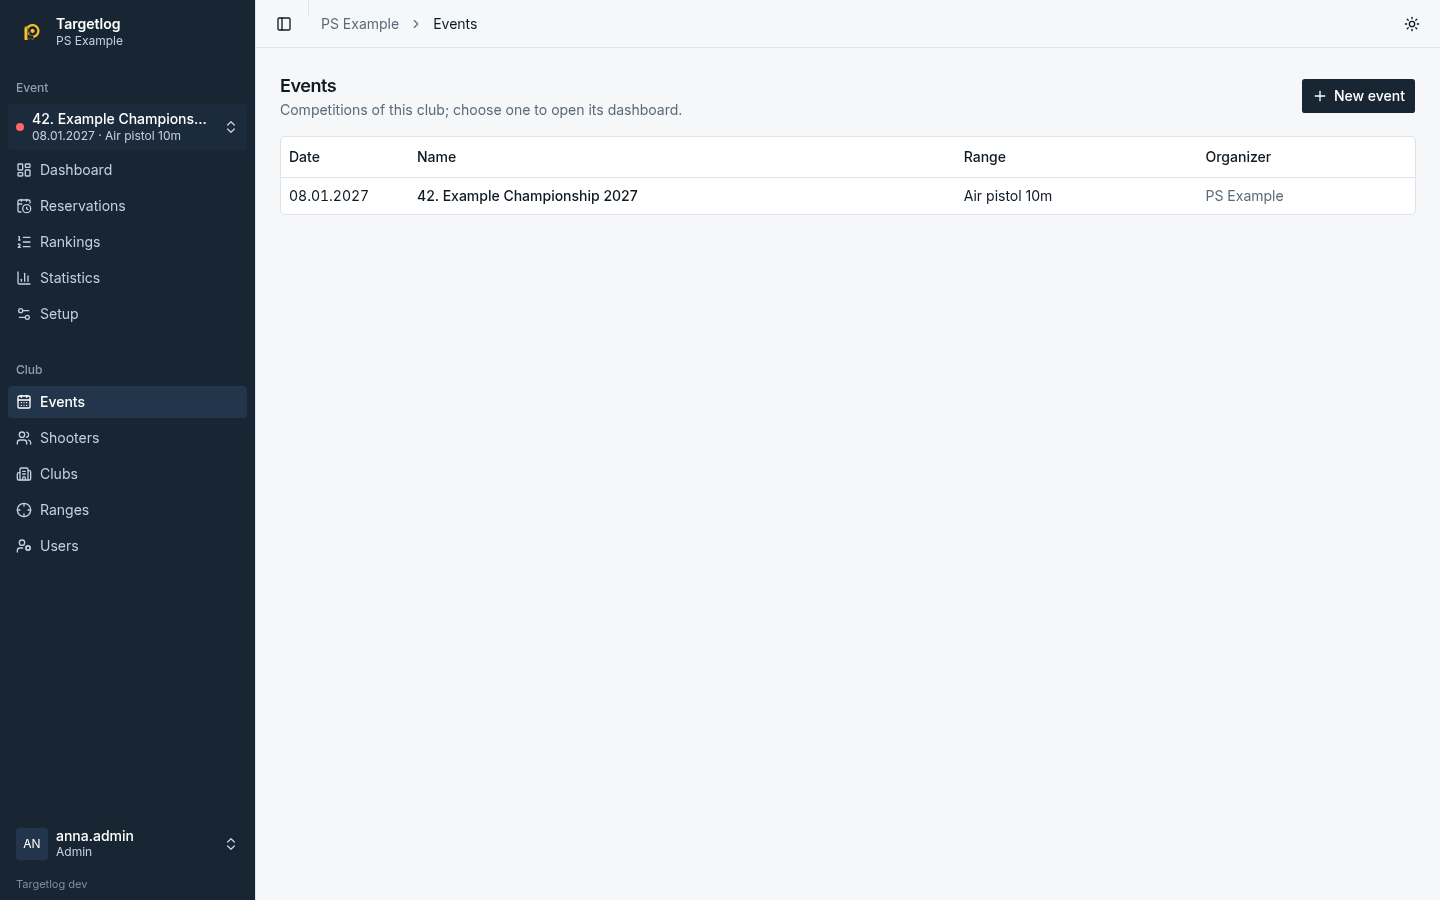
Under Events, create the event: name, date, range, organizer and the language of documents and kiosk screens. If you held the event last year, open last year's event and use Copy for next year instead: it takes over the settings and all programmes.
5. Add the programmes
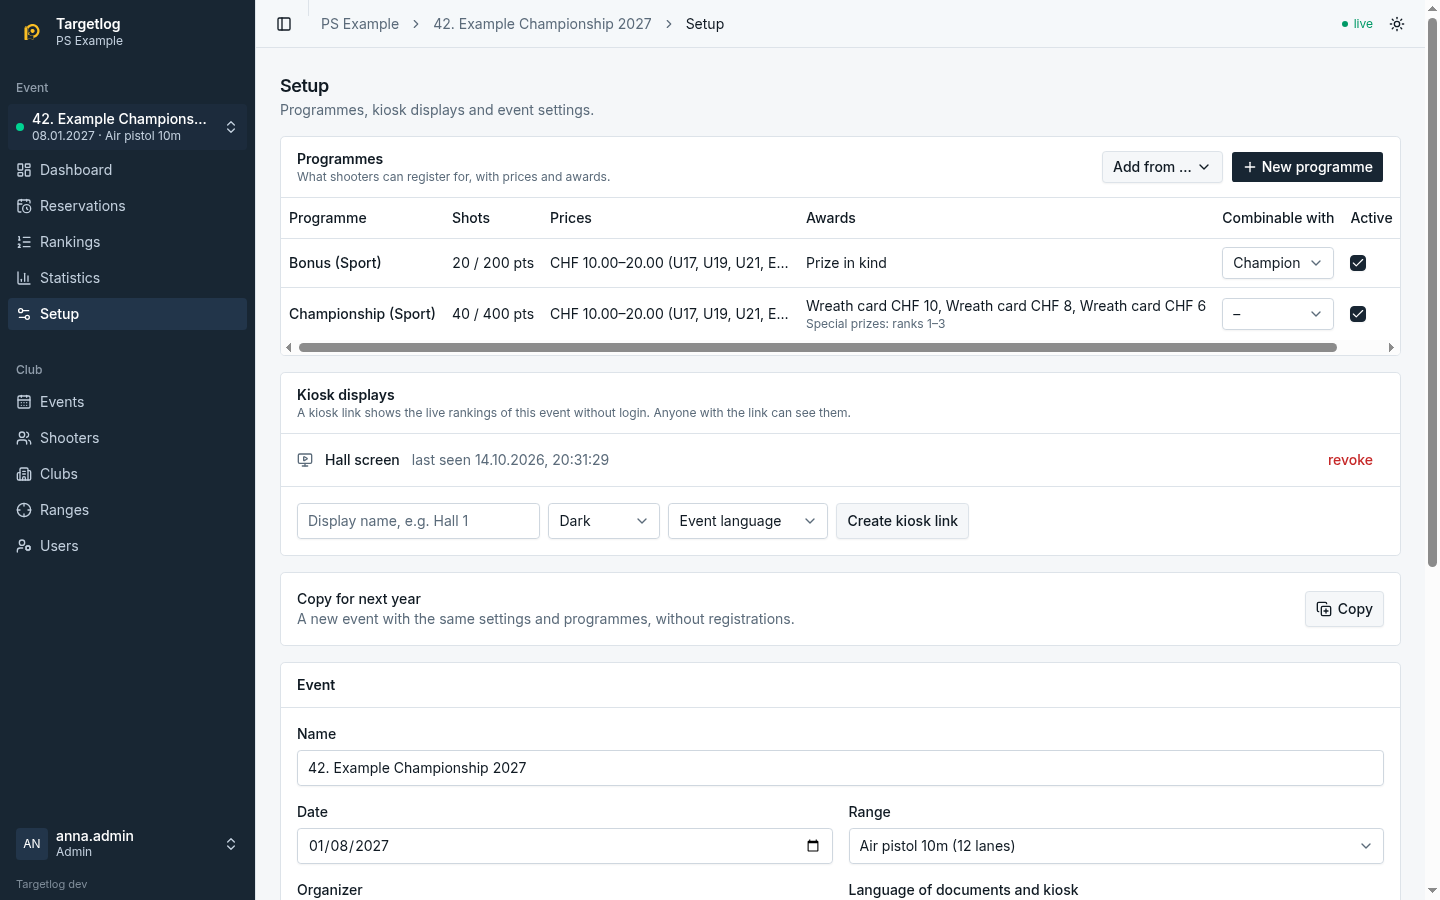
In the event's Setup, add the programmes: from the editor, from the programme library, from a programme file or by copying them from an earlier event. Check prices, award tiers, variants and combinations, and set up special prizes if your event awards them.
6. Kiosk screens and printers
Still in Setup, create a kiosk link for each screen in the hall (see Rankings and kiosk). Under Ranges → Printing, assign a printer to each document (see Printing).
7. Run the event
On the Dashboard, press F4, search the shooter, register them on a lane and let the lane sheet print. Enter the results when the shooter hands in the targets; the rankings and kiosk screens update immediately. See Dashboard, Registrations and Results.
8. After the event
Under Statistics, download the reports (financial report, awards, club competition, special prizes …). When everything is settled, archive the event in Setup: it stays readable but can no longer be changed.